Introduction to the ScratchJr Superman Game Project
Welcome to this exciting new tutorial where we will teach your children how to create an action-packed Superman game using the brilliant coding application, ScratchJr. In this simple yet engaging project, your child will learn how to design a ‘joypad’ interface to control Superman’s movement, allowing him to fly and catch two pupils who have accidentally fallen out of a moving school bus. This ScratchJr project focuses on using message blocks to coordinate movement between multiple characters, creating a compelling animation where the children appear to be safely carried by the superhero. Once both pupils are rescued and Superman touches the bus, they’ll trigger a final, celebratory scene. Get ready to code, design, and save the day!
The ScratchJr Superman Game Project Instructions
Here is everything you will need to make your very own version of the ScratchJr Superman Game.
The ScratchJr Superman Game Project Video Walkthrough
This video walks you through the project and the instructions you need to follow.
What you need to make this ScratchJr Superman Game Project
Here is a list of the characters and elements you will need to set up your stage before you begin coding.
- Characters:
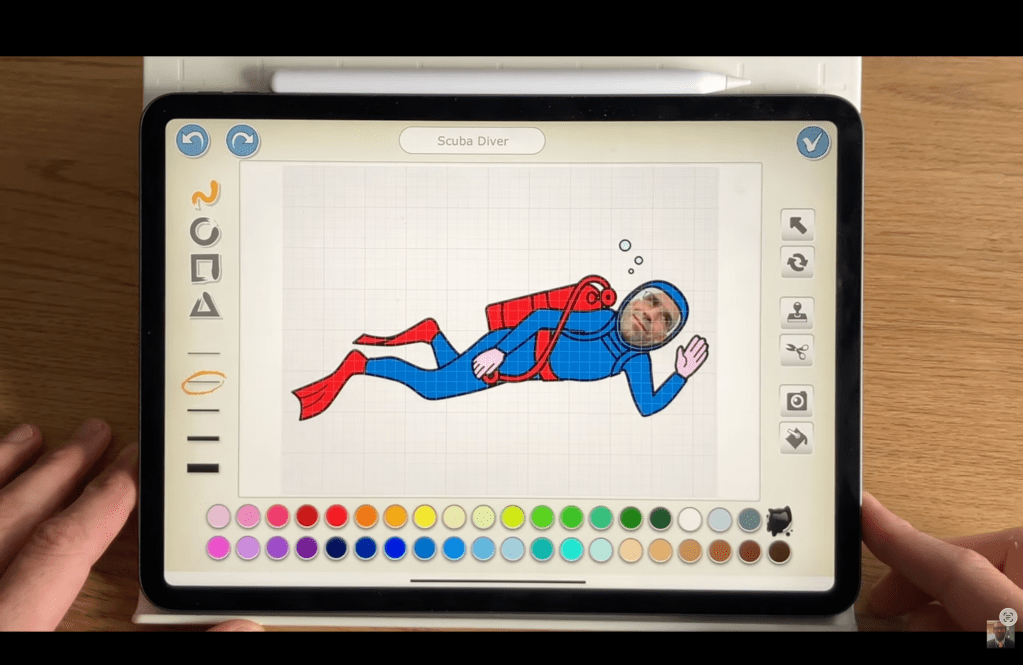
- Superman (The video creator suggests using and recolouring the ‘Scuba’ character to make him look like Superman [00:24]).
- School Bus.
- Pupil 1 (e.g., the little girl).
- Pupil 2 (e.g., the little boy).
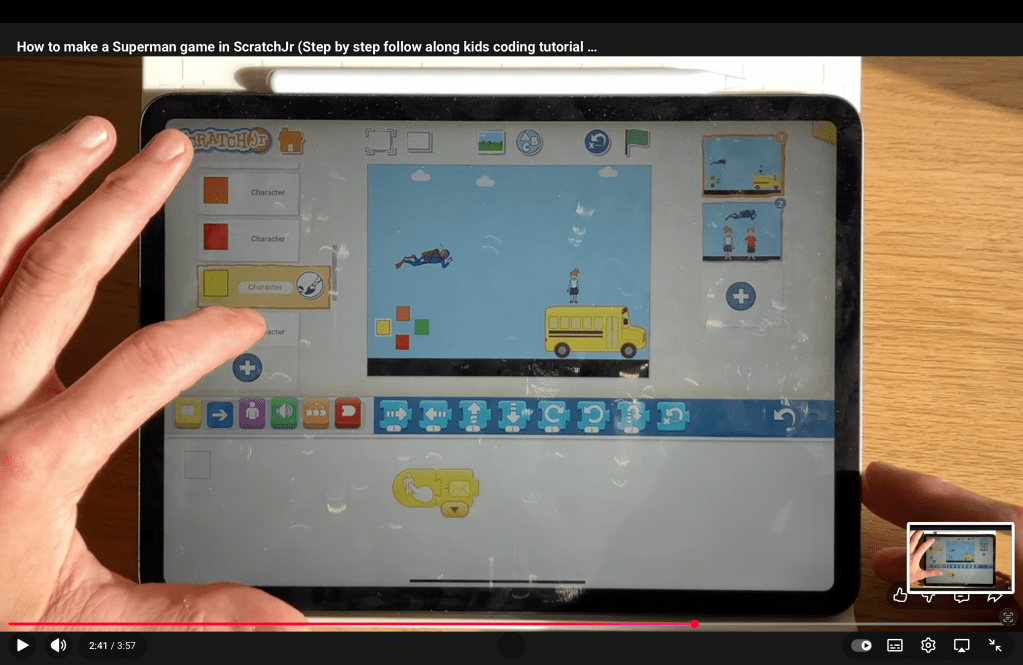
- Four Joypad Buttons (Four separate sprites, such as small squares, to act as directional controls).
- Clouds (Used for background animation).
- Backgrounds:
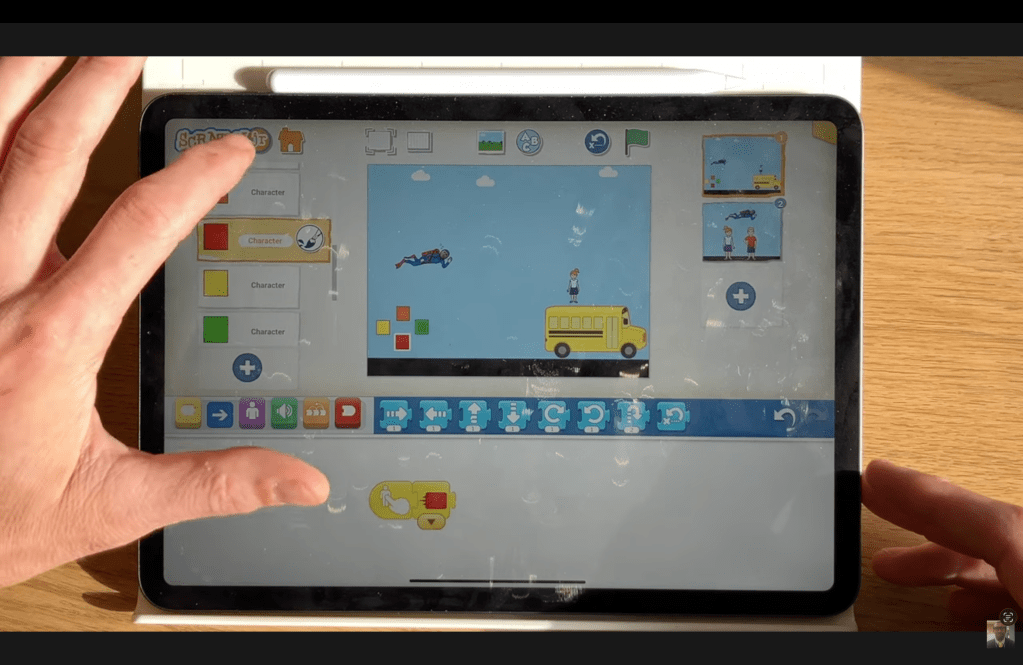
- Scene 1: The main game screen (an outdoor background).
- Scene 2: A simple background for the celebration/end screen.
- Specific Setup:
- The two pupil characters should start the game set to Disappear and placed on the bus.
- The pupils will require two sets of code: one for their falling movement and one for their ‘carried’ movement.
Step-by-Step Written Instructions To Make your Own Version of the ScratchJr Superman Game
Follow these steps to build the full ScratchJr Superman game.
Step 1: Set Up the Joypad and Background Motion
We begin by establishing the input controls and creating the illusion of movement in the background.
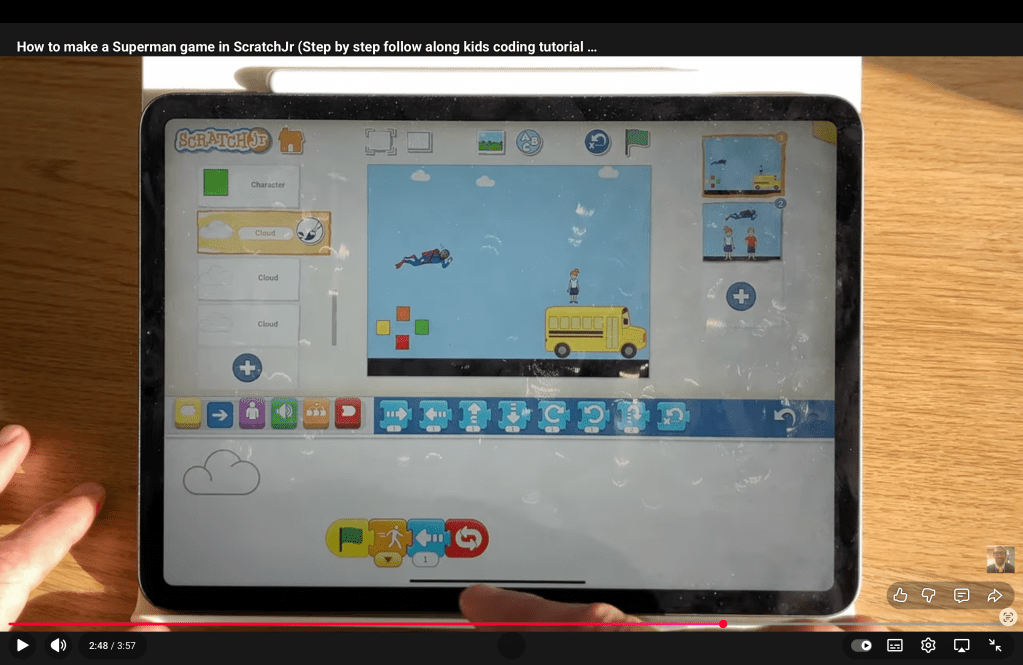
- Clouds: To make the scene appear to be moving as Superman flies, make the cloud sprite move continuously.
- Code: Start on Green Flag -> Repeat Forever -> Move Left by a small number (e.g., 1 or 2) [02:46].
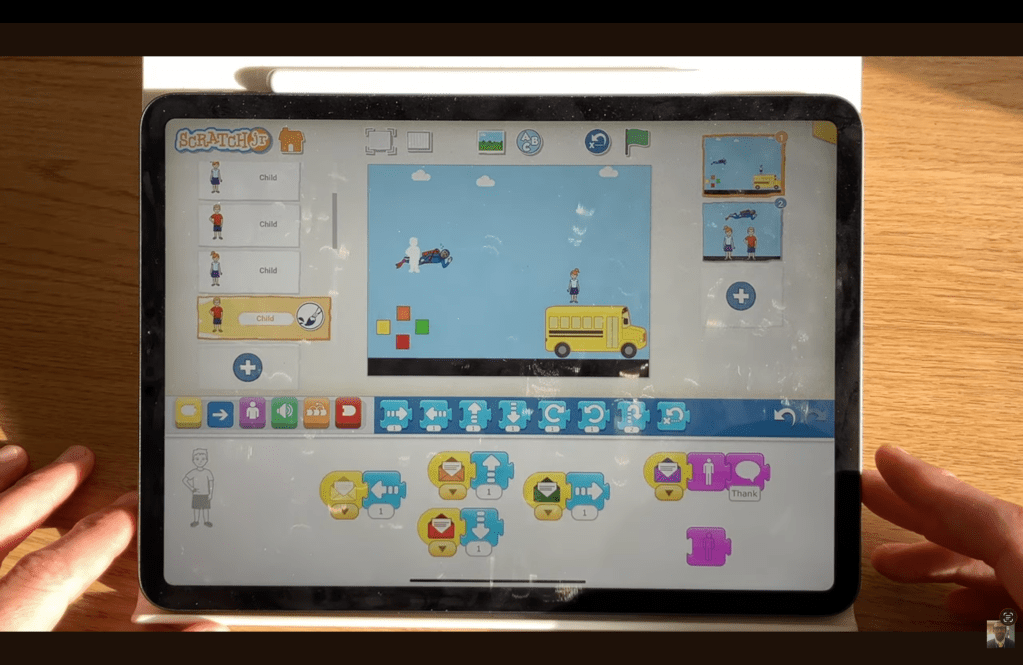
- Joypad Buttons: Each of the four directional squares must send a unique colour message when tapped.
- Code (for the Orange ‘Up’ button): Start on Tap -> Send Orange Message.

- Code (for the Yellow ‘Left’ button): Start on Tap -> Send Yellow Message.
- Code (for the Green ‘Right’ button): Start on Tap -> Send Green Message.
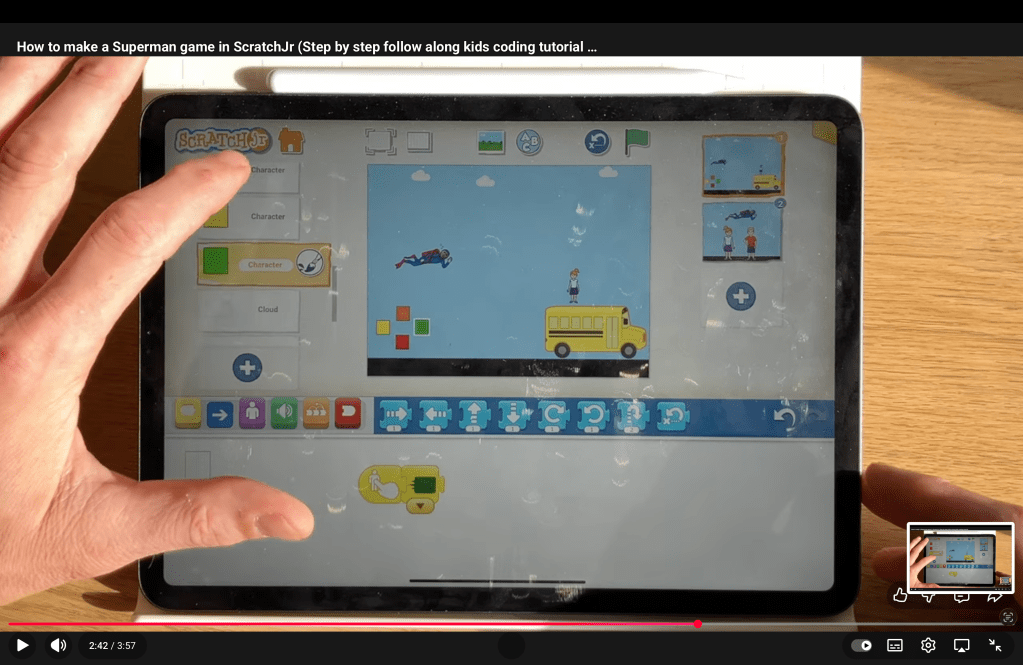
- Code (for the Red ‘Down’ button): Start on Tap -> Send Red Message.
Step 2: Code Superman’s Movement
Superman’s movement is controlled by the messages sent from the joypad buttons.
- Up Movement: Start on Orange Message -> Move Up by 1.
- Right Movement: Start on Yellow Message -> Move Left by 1.
- Left Movement: Start on Green Message -> Move Right by 1.
- Down Movement: Start on Red Message -> Move Down by 1.

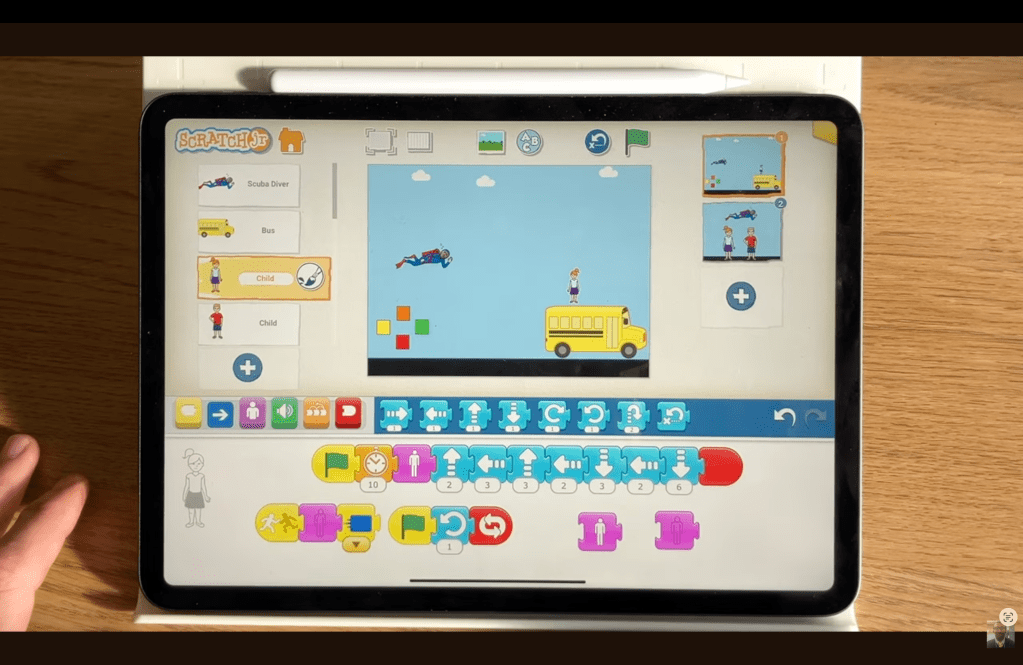
Step 3: Code the Falling Pupils
The pupils need code to appear and fall from the bus when the game starts.
- First Pupil’s Falling Code (e.g., Pupil 1):
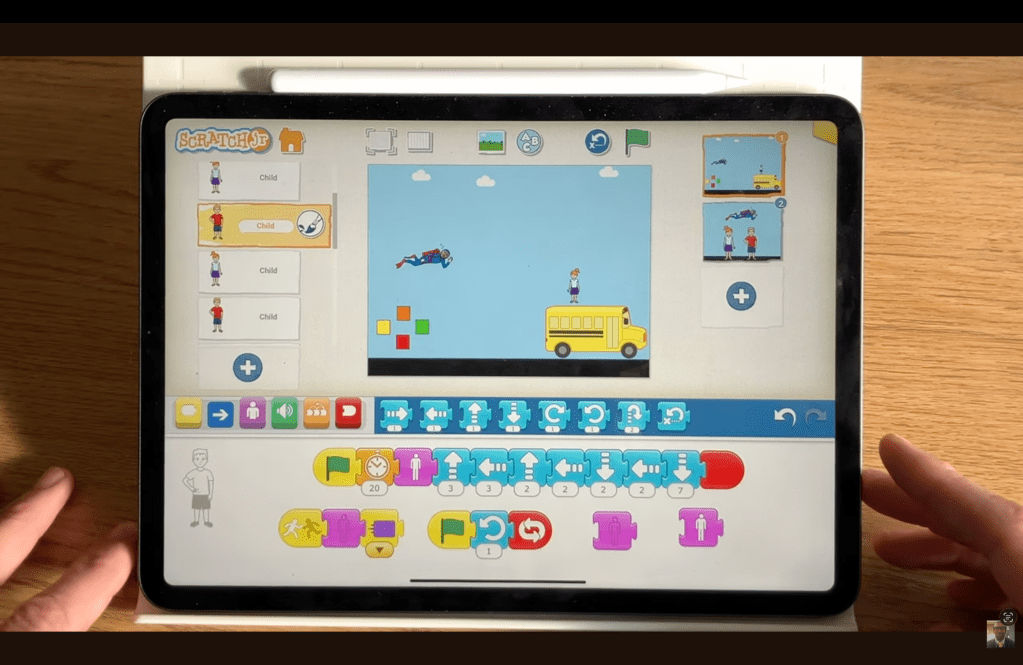
- Second Pupil’s Falling Code (e.g., Pupil 2):
Step 4: The Rescue Logic
When Superman touches a pupil, the rescue happens. This is the logic for Pupil 1 and Pupil 2.
- Rescue Code:Start on Bump (touching Superman) -> Say “Thank you.” -> Disappear -> Send Blue Message[01:40].
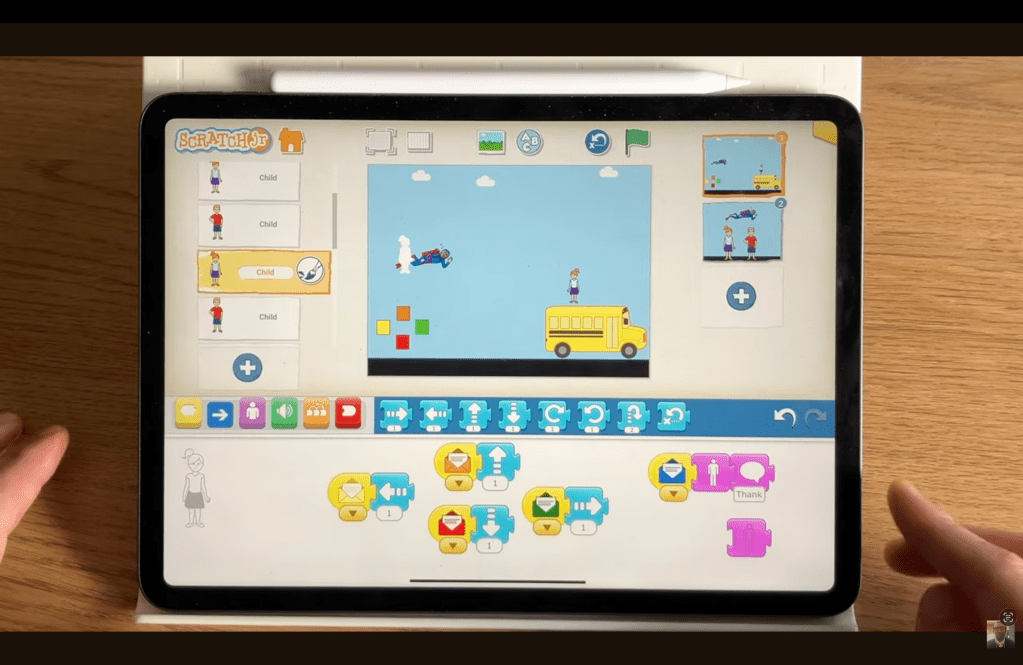
Step 5: Pupils Being Carried
The Blue Message (for Pupil 1) and Purple Message (Pupil 2)activates the final phase of the pupil’s code, making them appear on Superman and move with him.
- Carried Code: Start on Blue (or Purple) Message -> Go to Home (to reposition the child onto Superman’s location) -> Appear [01:52].
- Movement: The pupil must now receive the same four directional messages as Superman to stay attached to him. Copy the full movement code from Superman (Step 2) onto the pupil character.
Step 6: End the Game
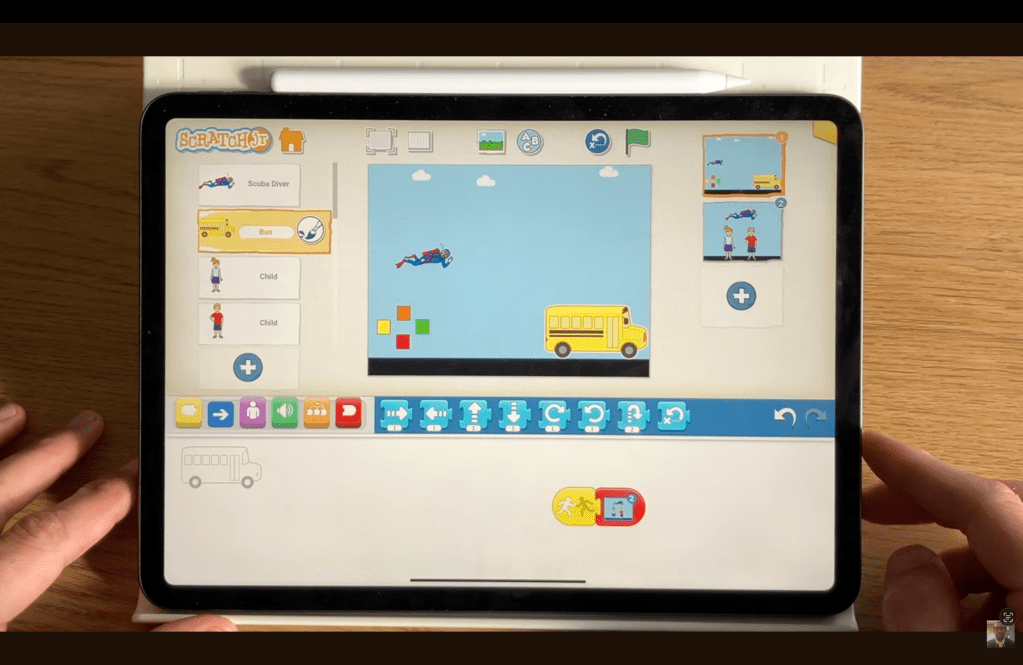
The game ends when Superman successfully grabs the bus. This action must be coded on the Bus character.
- Bus End Code: Start on Bump (touching Superman) -> Set Speed to slow (to show the bus stopping) -> Go to Page (to Scene 2) [03:01].
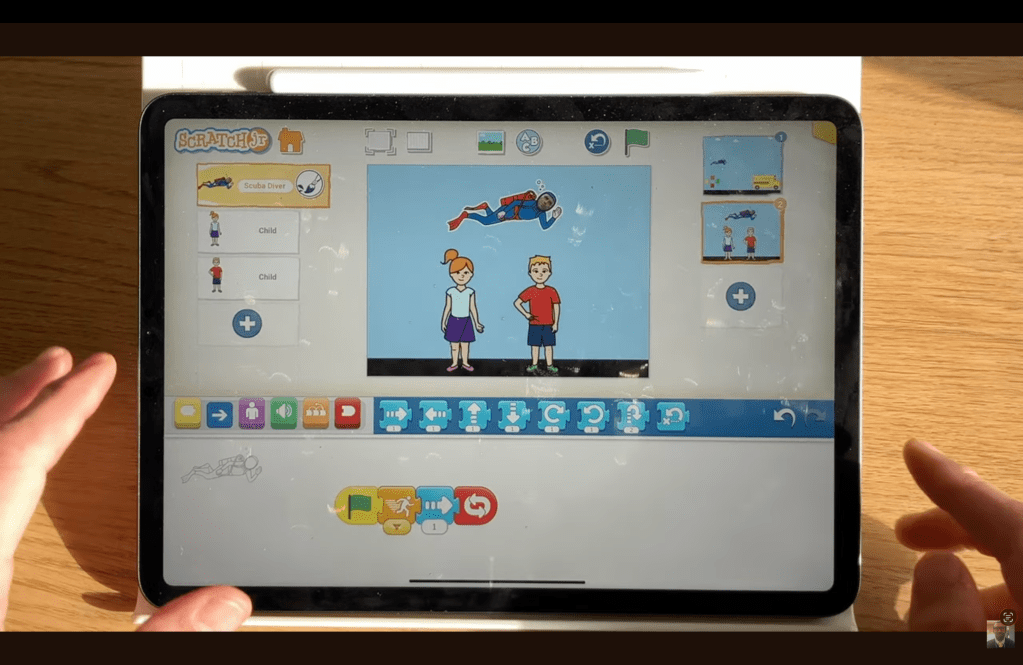
Step 7: The Final Celebration
Switch to Scene 2 and code the celebratory animation.
- Superman: Start on Page -> Move Right (to fly across the screen).
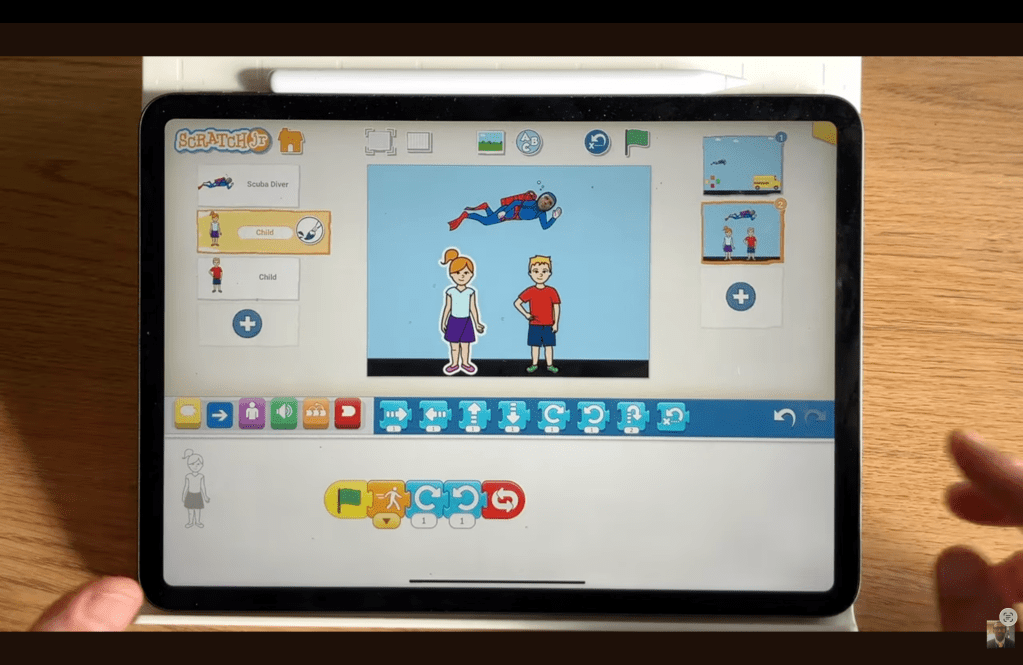
- Pupil 1: Start on Page -> Repeat Forever -> Hop (to perform a ‘jig of joy’) [03:06]. Please note, the code for Pupil 2 will be exactly the same.
Troubleshooting/Tips when creating this ScratchJr Project
- If your character doesn’t move when you tap the joypad, ensure that both the joypad button has a Start on Tap and Send Message block, and that the character (Superman and the carried pupils) has the corresponding Start on [Colour] Message block [00:53].
- When creating the rescue logic, remember that the pupils must be programmed to use the Start on Bump block to initiate the rescue sequence (disappear and send the blue message). Using the wrong start block can mean Superman never catches them [01:40].
- The illusion of the children being ‘carried’ only works if you copy and paste the four directional message blocks from Superman onto the child sprite that appears after the rescue. If you forget this, the child will appear but stay in one place while Superman flies off [02:01].
If you are interested in doing more coding with your children and pupils, please check out the other ScratchJr Projects I have created.
Alternatively, if you are looking for Coding Tutor in Hertfordshire to support your children with this, I can also help.
