If you’re looking to help a child begin their coding journey ScratchJr is the perfect starting point. To get started you need the free ScratchJr app.
ScratchJr uses graphical coding pieces, called Blocks, that snap together like digital LEGO, allowing young creators to tell stories, animate characters, and build interactive games without needing to read or write complex text.
There are five main categories of ScratchJr blocks, each represented by a distinctive colour and purpose. Understanding these categories is the key to unlocking creative projects! If you are already familiar with ScratchJr, check out these tutorials.
The Five Main Categories of ScratchJr Blocks
Every script (a sequence of commands) is built by dragging these blocks from the palette into the programming area. Here is a breakdown of what each group of ScratchJr blocks does:
1. Triggering Blocks (Yellow)
These blocks are all about starting the action. Think of them as the ‘start button’ for your code script.
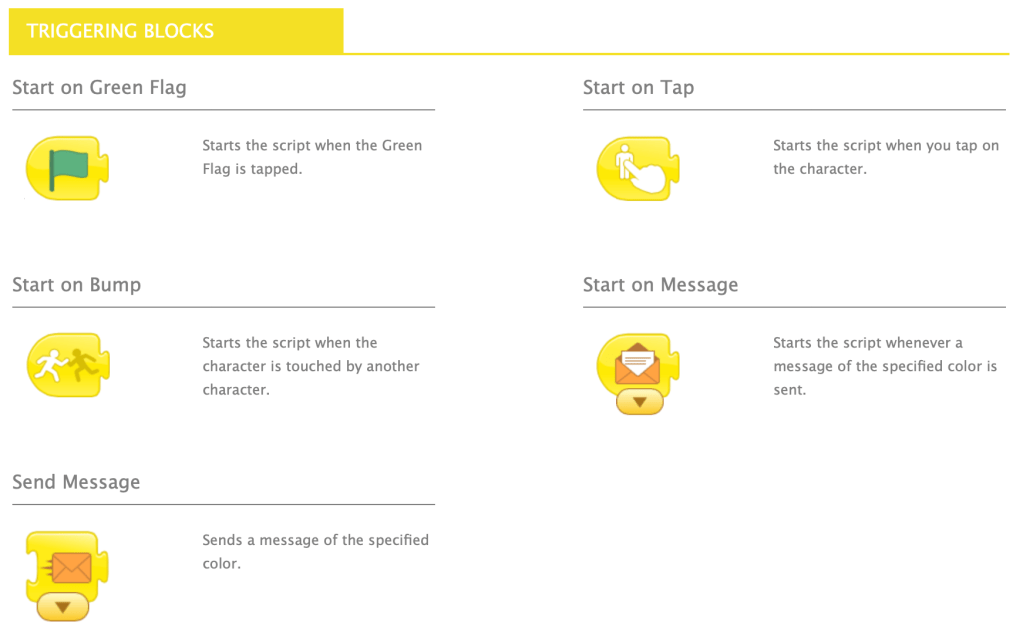
- Start on Green Flag: The most common trigger. It makes the script run when you tap the green flag icon at the top of the screen.
- Start on Tap: This makes the script run when a character itself is tapped by the user. This block can be combined with others also.
- Start on Bump: A clever block that starts the script when a character touches or ‘bumps‘ into another character.
- Start on Message / Send Message: These pairs allow characters to communicate. One character can ‘send a message’ (a coloured envelope), and another character can ‘start’ its script when it receives that specific message.
2. Motion Blocks (Blue)
The blue blocks are essential for making your characters move around the screen. Move blocks can be combined to move characters diagonally.
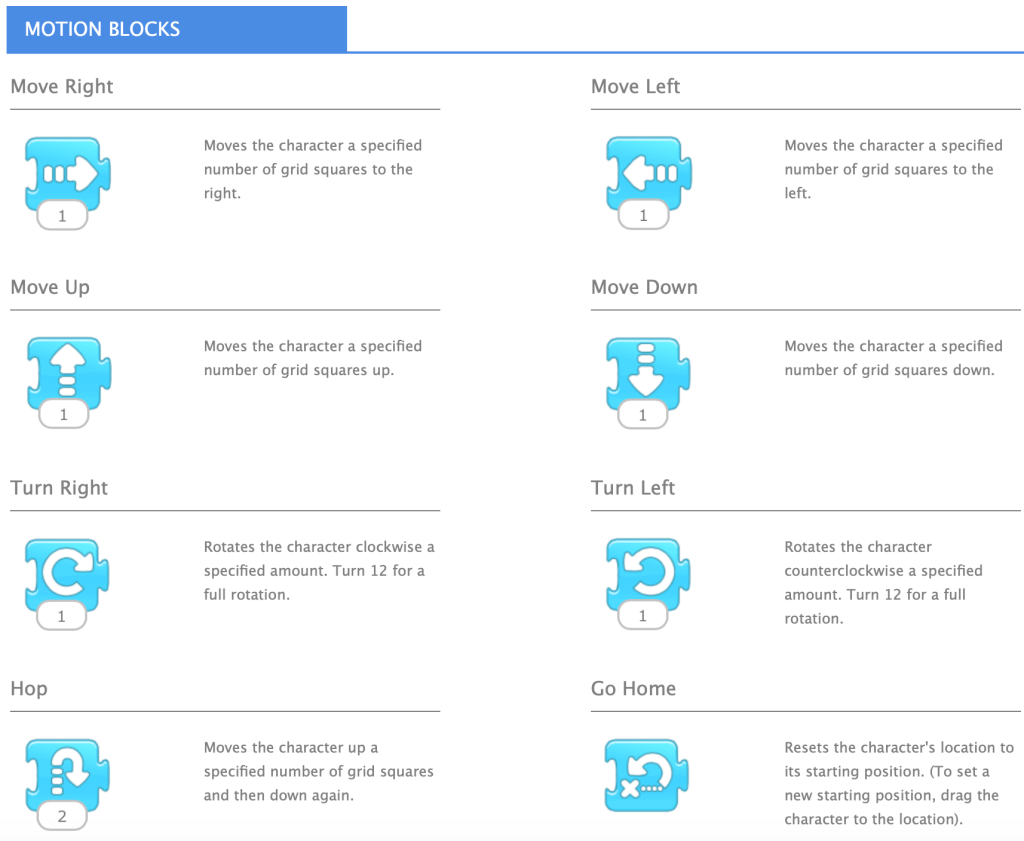
- Move Left, Right, Up, Down: These blocks move the character a specified number of grid squares in the chosen direction.
- Turn Right / Turn Left: These rotate the character clockwise or anti-clockwise. (Remember, setting the number to 12 is a full rotation!)
- Hop: A brilliant block that makes the character jump up and then land back down again, perfect for bouncy animations.
- Go Home: Resets the character back to its initial starting position, which is where you first dragged it onto the stage.
3. Looks Blocks (Purple)
These blocks control how your characters appear on the stage, affecting their size and visibility.

- Say: Pops up a speech bubble above the character with a message you type in.
- Grow / Shrink / Reset Size: Allows you to increase, decrease, or return the character to its original size.
- Hide / Show: Lets you make a character fade out completely or fade back in, which is great for surprise entrances or exits!
4. Sound Blocks (Green)
The green sound blocks bring your programme to life with audio!
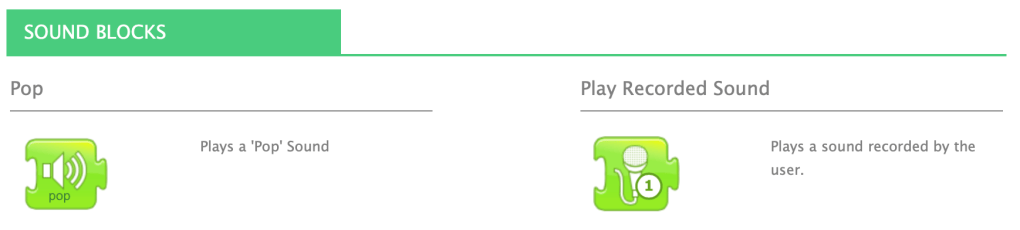
- Pop: Plays a simple ‘pop’ sound effect.
- Play Recorded Sound: The best part! This block lets children record their own voice or sound effects and play them back as part of the script.
5. Control Blocks (Orange)
These are the power blocks that manage the order and repetition of your script. They are crucial for creating longer, more complex animations.
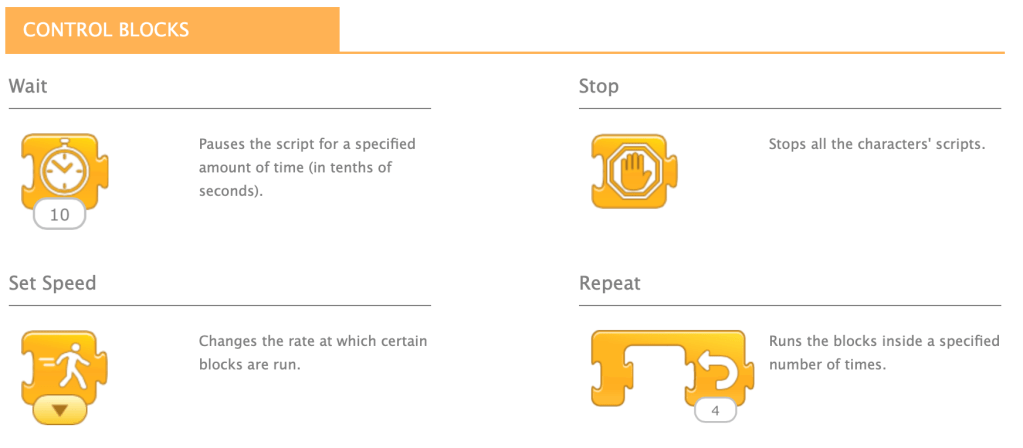
- Wait: Pauses the script for a specified amount of time (measured in tenths of a second) so that the program waits.
- Stop: Immediately stops all the scripts for all characters.
- Set Speed: Changes the pace at which the motion and sound blocks run, allowing for slow-motion or fast-paced action.
- Repeat (Looping): This is one of the most powerful ScratchJr blocks. It runs the blocks placed inside it a specified number of times, saving you from having to place the same block over and over. You can also create a nested loop.
6. End Blocks (Red)
These blocks signal the end of a script or move the action elsewhere.
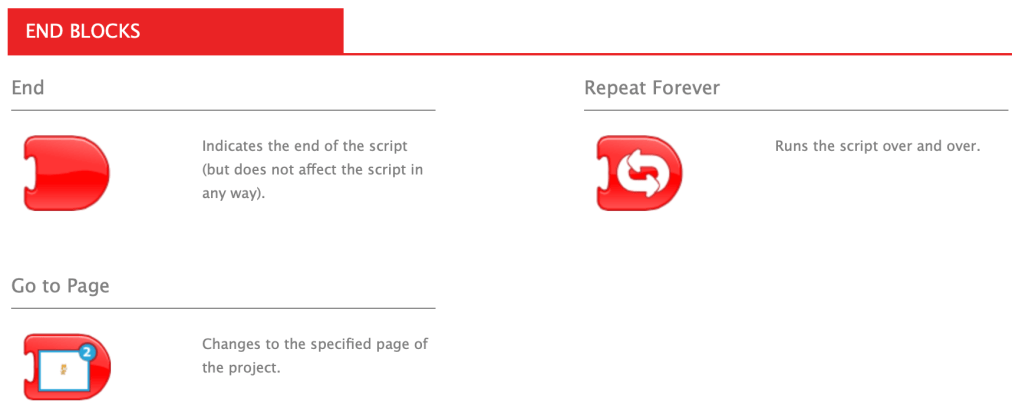
- End: Simply marks the finish line of the script.
- Repeat Forever: Runs the script over and over indefinitely, great for backgrounds or continuous movement.
- Go to Page: A fantastic block for creating multi-scene stories by switching to a different page in the project.
Time to Code with ScratchJr Blocks!
That’s your complete breakdown of the essential ScratchJr blocks!
The beauty of ScratchJr is that there’s no limit to how these blocks can be combined and copied between characters. Whether your young programmer wants to make a talking dinosaur, a space adventure, or a simple chasing game, it all starts with picking out the right ScratchJr blocks and snapping them together.
Happy coding, and do encourage your little one to experiment—that’s how the best digital creations are built!
